
Dollar Tree Halloween DIY: How to Build an Expensive-Looking Centerpiece on a Budget

 Halloween Decor
Dollar Tree Halloween DIY: How to Build an Expensive-Looking Centerpiece on a Budget
Creating an upscale, designer-style Halloween centerpiece does not require boutique prices when you know how to curate and elevate standard discount store materials. By combining deep-toned faux florals, textured figurines, and cohesive structural elements from retailers like Dollar Tree, you can craft a rich, dramatic focal point for an entryway or dining table for just a fraction of specialty retail costs.
The difference between an arrangement that looks cheap and one that looks luxurious comes down to texture, color saturation, and balance. Inexpensive plastic novelties quickly ruin an aesthetic if left untreated, but intentional layering transforms basic items into high-end seasonal decor.
The Foundations of High-End Budget Styling
Most mass-produced discount holiday decorations suffer from artificial sheen, neon undertones, and flimsy composition. High-end interior styling, conversely, relies on matte textures, organic movement, and a disciplined color palette focused on deep jewel tones, charcoal blacks, and muted whites.
When selecting pieces from the craft aisle, prioritize items that feature convincing silhouettes rather than finished surfaces. Faux florals such as black roses, deep purple dahlias, and dried-look sprigs provide structural depth. A solid base—such as a dark plastic urn, a matte-painted foam block, or a simple wire basket—anchors the entire display and conceals internal mechanics.
The secret to high-end budget crafting lies in ignoring the original finish and focusing entirely on structural form and silhouette.
By shifting your focus from what an item looks like on the shelf to how it behaves under a coat of textured paint or inside an arrangement, cheap supplies suddenly become versatile design components.
Key Elements for an Elevated Halloween Centerpiece
A well-composed arrangement balances vertical height, trailing volume, and focal accents to draw the eye naturally across the table.
| Design Element | Styling Purpose |
|---|---|
| Matte Black Florals | Creates visual weight and a dramatic, shadowy base |
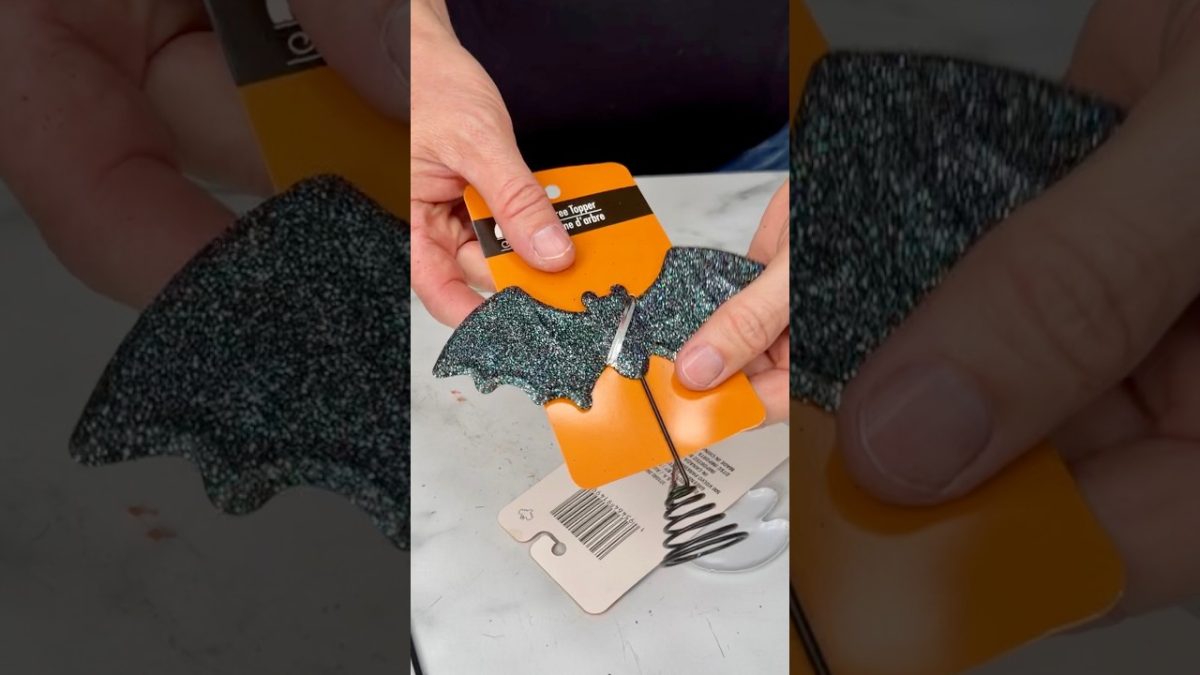
| Airy Figural Accents | Adds height with floating bats or whimsical ghost silhouettes |
| Textured Vessels | Hides floral foam while grounding the centerpiece |
| Accent Sprigs & Branches | Breaks symmetry and produces an organic, overgrown aesthetic |
Notice how every component serves a specific structural job rather than simply taking up space. This intentional curation keeps the final product clean, cohesive, and remarkably sophisticated.
Step-by-Step Assembly Guide
To produce a cohesive centerpiece, build the arrangement from the core outward, securing elements systematically to withstand party movement or dining table use. An embedded tutorial can show these dynamic assembly steps in practice.
- Prepare the Base: Place dense floral foam inside a sturdy container or platter, securing it with hot glue so the display stays balanced under heavier branches.
- Insert Structural Greenery: Cut dark faux stems to varying heights and press them firmly into the foam, angling the outer branches downward to spill over the container’s rim.
- Add Primary Florals: Position your largest blooms in the center and slightly off-center to create visual interest without looking overly symmetrical.
- Introduce Spooky Elements: Wire small faux bats into thin, flexible branches so they appear to hover naturally above the blooms.
- Incorporate Ghost Details: Tuck small ghost figures or sculpted accents into the lower foliage, allowing the dark florals to frame and contrast their lighter forms.
Busting the Shiny Plastic Myth
A common misconception in seasonal decorating is that store-bought items must remain as they are packaged. Glossy, hollow plastic bats and bright white foam skulls instantly signal discount origins under modern indoor lighting.
Applying a quick dusting of matte black spray paint, dark wax, or water-thinned acrylic paint immediately cuts the synthetic shine. This simple step replicates the appearance of cast iron, stone, or hand-painted ceramic at virtually zero extra cost.
Maintaining Proportion and Visual Flow

A frequent pitfall when crafting seasonal displays is overcrowding the container. Overstuffing leaves nowhere for the eye to rest and diminishes the individuality of each sculptural piece.
Keep your tallest elements within the central third of the display, allowing the edges to taper naturally toward the tabletop. This technique ensures that your centerpiece remains visually engaging from every angle while leaving functional sightlines clear for conversation across the dining room.
💡 Focus on silhouette first when shopping budget aisles, prioritizing unique shapes over factory colors that you can easily repaint at home.
🔍 Audit your materials under natural room lighting before final assembly to spot and tone down any artificial plastic sheen.
📌 Layer distinct heights to give your centerpiece depth, movement, and the unmistakable presence of an expensive boutique arrangement.
👇 Share your favorite budget-friendly Halloween decorating hacks and tell us which pieces you plan to repurpose this spooky season!