Ghost Place Cards: The Whimsical Paper Craft Elevating Halloween Dinner Tables

 Halloween Decor
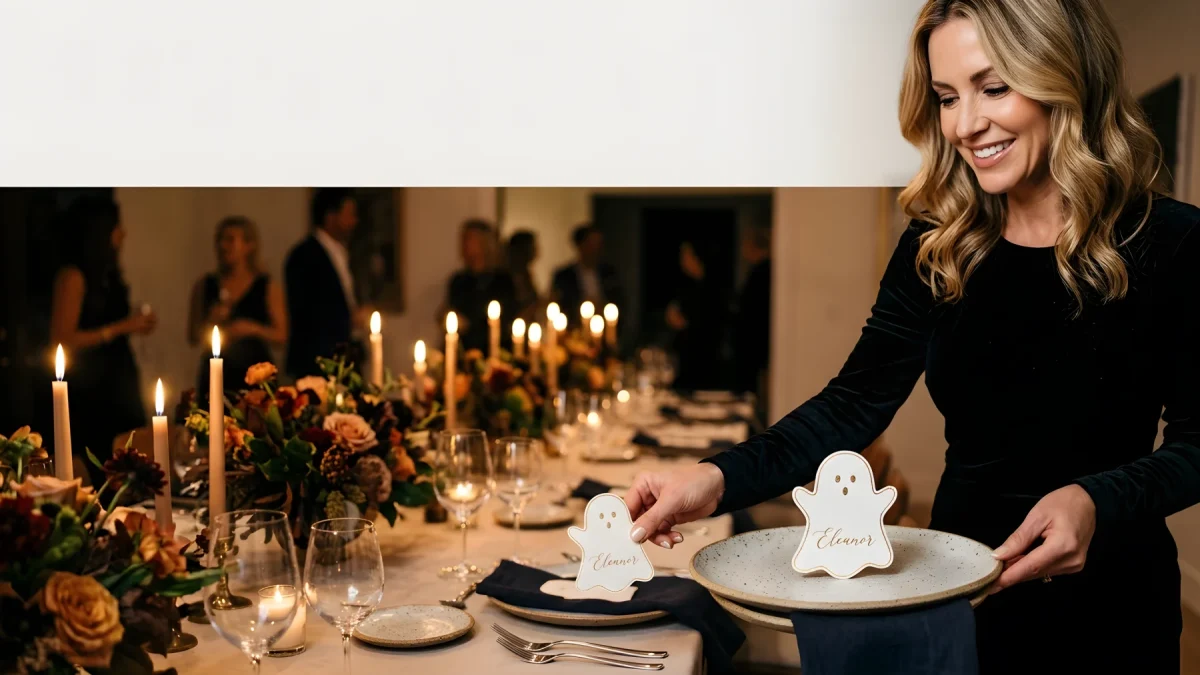
Handmade ghost place cards bring an airy, playful elegance to modern autumn tablescapes.
Creating personalized ghost place cards out of textured cardstock offers an easy, budget-friendly way to balance spooky charm with refined dining aesthetics. With just a few precise folds, heavy paper stock, and clean calligraphy, these miniature spectral figures turn an ordinary October place setting into an engaging, bespoke experience for dinner guests.
While mass-produced plastic novelties often dominate seasonal party aisles, handmade paper elements introduce warmth and architectural interest to an autumn tablescape. Selecting the proper cardstock weight and scoring method ensures each freestanding spirit maintains its upright shape throughout the evening without curling or collapsing under ambient humidity.
Mastering this simple project requires minimal investment, yet the structural outcome depends heavily on using the right paper-crafting fundamentals.
Selecting the Ideal Materials for Freestanding Paper Spirits
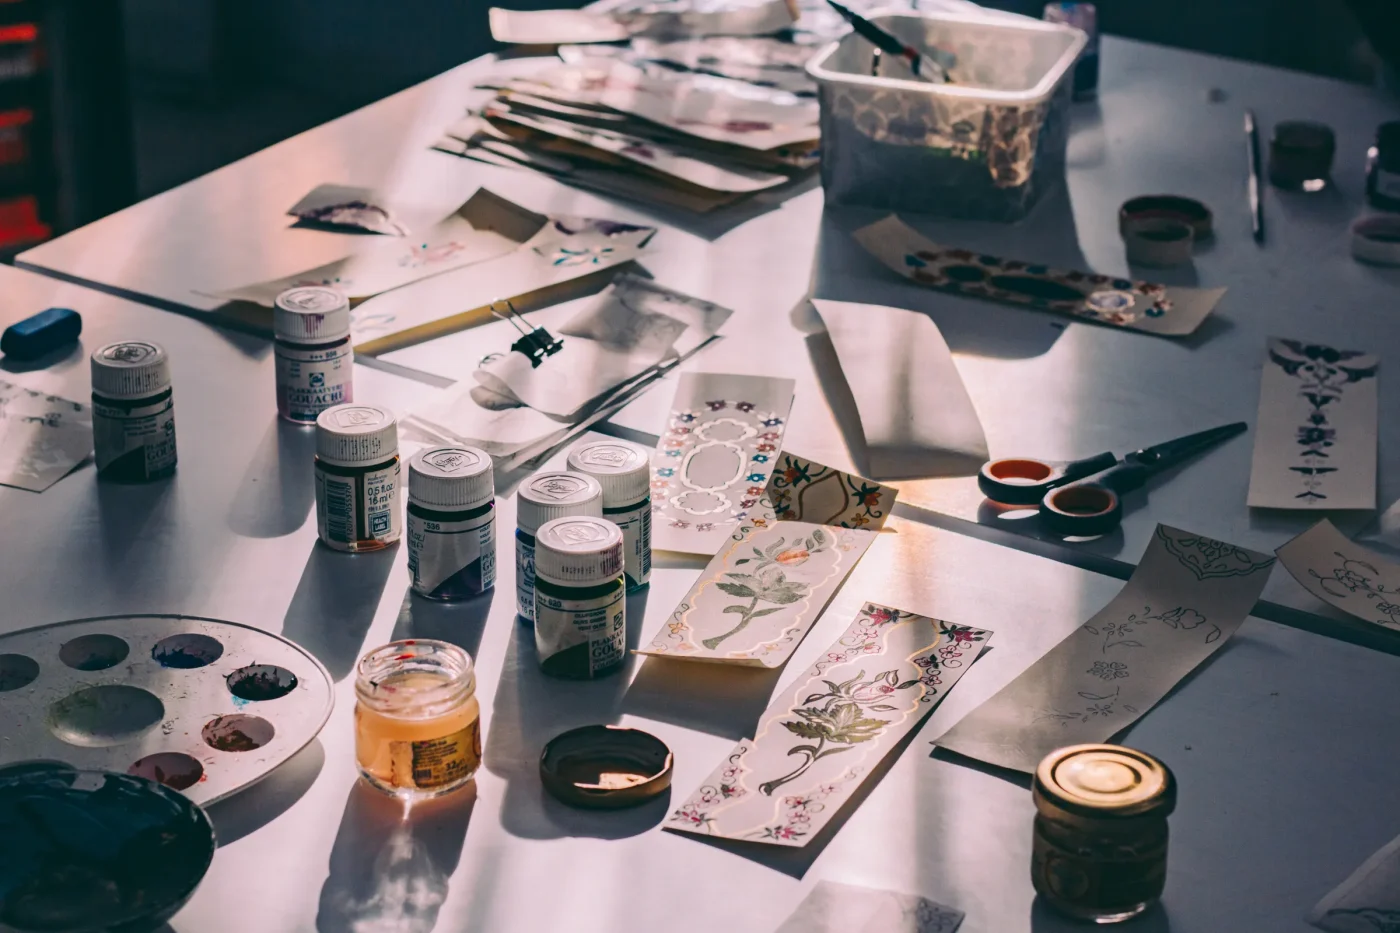
The foundation of any successful paper craft lies in the physical properties of the sheet itself. Standard printer paper lacks the tensile rigidity required to support a die-cut or hand-trimmed ghost silhouette, inevitably slumping once placed upright beside tableware.
Opting for a sturdy cover paper prevents common display failures while providing a tactile, premium texture that enhances the dining ambiance.
A common mistake in practice is using lightweight text paper, which absorbs ambient room moisture and causes folded paper figures to warp or topple before dinner concludes.
For pristine results, pair heavy paper with professional marking pens that resist feathering and smudging on uncoated surfaces.
| Material Component | Optimal Specification |
|---|---|
| Paper Weight | 80 lb to 100 lb cover stock (approximately 216 to 270 GSM) |
| Paper Finish | Vellum, linen, or smooth matte cotton finish |
| Scoring Tool | Bone folder or dull embossing stylus |
| Lettering Medium | Waterproof archival pigment ink or metallic gel pen |
Once you gather the essential materials, the construction process relies on clean geometry rather than advanced artistic drawing skills.
Step-by-Step Construction: Folding and Silhouette Shaping
Achieving a whimsical silhouette requires balancing soft, flowing curves with a stable, hidden base. A tent-fold or counterbalanced back tab allows the ghost to remain completely upright beside wine glasses, cloth napkins, or rustic ceramic plates.
- Measure and Trim: Cut your cardstock into uniform rectangles measuring roughly 3 inches wide by 5 inches tall to maintain consistent scale across every place setting.
- Score the Fold: Using a bone folder against a straight metal ruler, score a horizontal line one inch from the bottom edge to create a sturdy, flat base flap.
- Cut the Silhouette: Sketch an undulating, dome-topped ghost outline on the upper portion, leaving the bottom scored base intact, then trim carefully along the perimeter with precision scissors.
- Incorporate Playful Details: Use a standard hole punch or fine-tipped black pigment liner to create minimalist, oval-shaped eyes near the head of the silhouette.
- Letter Guest Names: Handwrite each attendee’s name across the lower center torso using fluid calligraphy, ensuring balanced visual weight.
Understanding the interplay between clean lines and practical durability helps avoid common design missteps that disrupt your table presentation.
Busting Common Paper Crafting Myths
A widespread misconception assumes that heavier paper always yields a cleaner presentation. In reality, excessively thick board (above 130 lb cover) tends to crack along the fold lines unless scored with professional-grade creasing tools, leaving rough, exposed paper fibers that ruin a polished finish.
Similarly, many assume that intricate adhesive work is necessary to keep figures standing. A simple reverse-score fold or an integrated paper kickstand provides superior mechanical stability without the mess or warping caused by wet liquid glues.
Styling Whimsical Settings for Sophisticated Gatherings
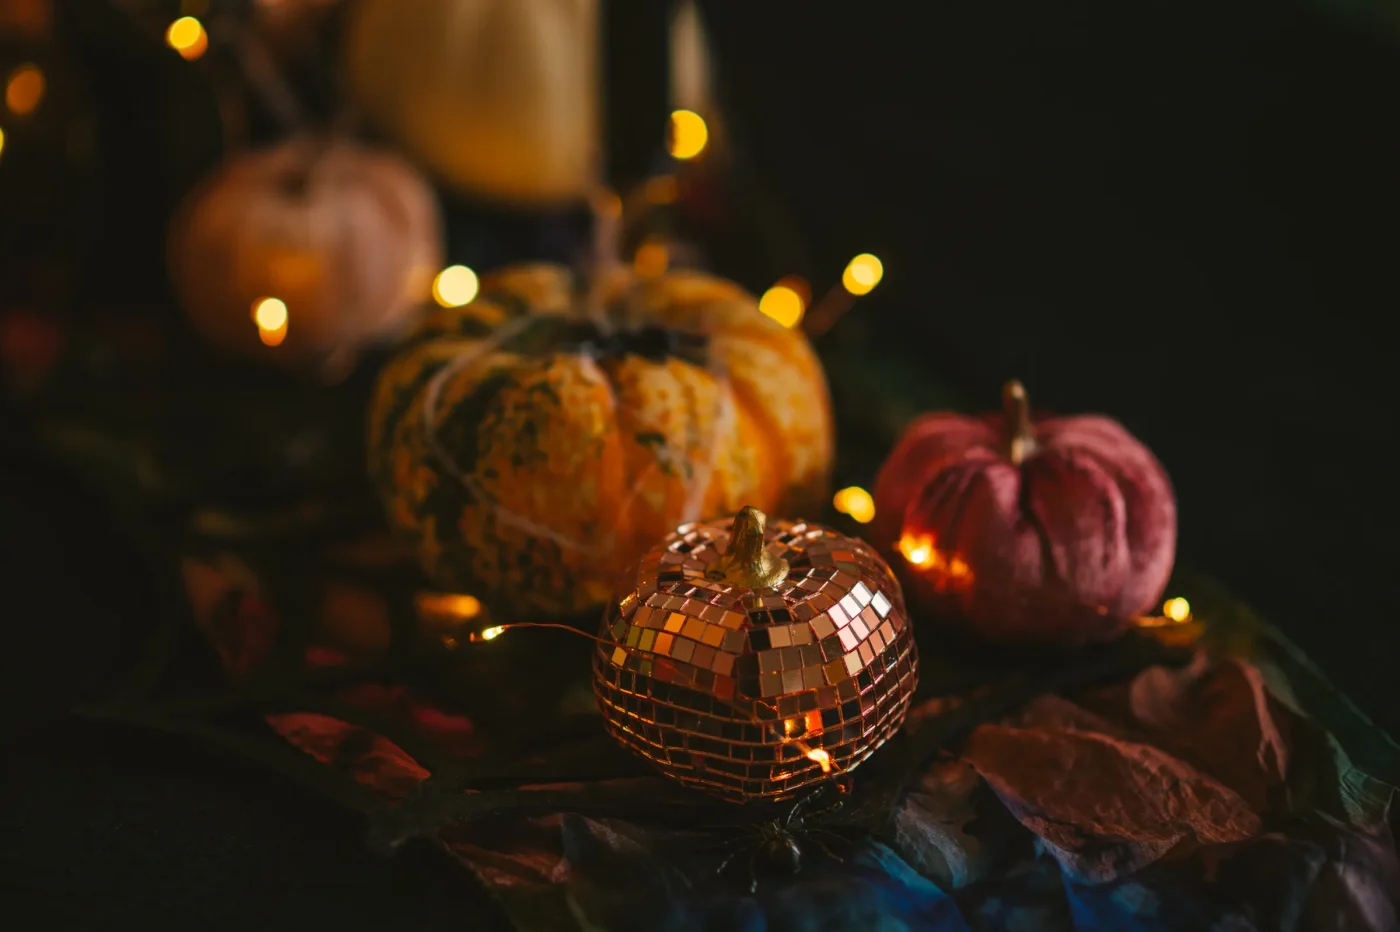
Integrating paper accents into an overall dining theme requires thoughtful coordination with surrounding textures. The stark white or soft cream color of paper ghosts contrasts beautifully against deep jewel tones, dark linen napkins, and aged brass flatware.
Tucking a slender sprig of dried floral foliage, such as lavender or seeded eucalyptus, behind each ghost provides an organic grounding element. Alternatively, anchoring the base inside a miniature painted wooden block creates extra resistance against accidental table bumps and drafts.
💡 Try experimenting with soft ivory or warm taupe papers to introduce subtle tonal variety across your seasonal dinner layout.
🔍 Small details like metallic gold accent ink or deckled, hand-torn edges make simple paper craft feel remarkably high-end.
👇 Leave your thoughts in the comments below and share how you personalize your autumn table settings.